
How to Turn Resin Coaster Moulds into a Stunning DIY Photo Light Cube
Have you ever looked at your resin coaster moulds and wondered if they could be more than just a place to rest your tea? While they are perfect for making beautiful table protection, these simple shapes hold the potential for much more ambitious projects.
In this guide, you will learn how to "think outside the box" by literally building one. We will transform five square resin coasters into a personalised, translucent photo light cube. This project is a fantastic way to display your favourite memories of pets or family while creating a unique piece of home decour that glows from within.
The secret to this project lies in using the square moulds to create "panels" rather than individual coasters. By using a semi-opaque white resin, we create a perfect canvas for water slide decals. These decals allow you to transfer any photograph onto the resin surface. Once the panels are cured, they are bonded together to form a cube that can be placed over an LED base.
Steps
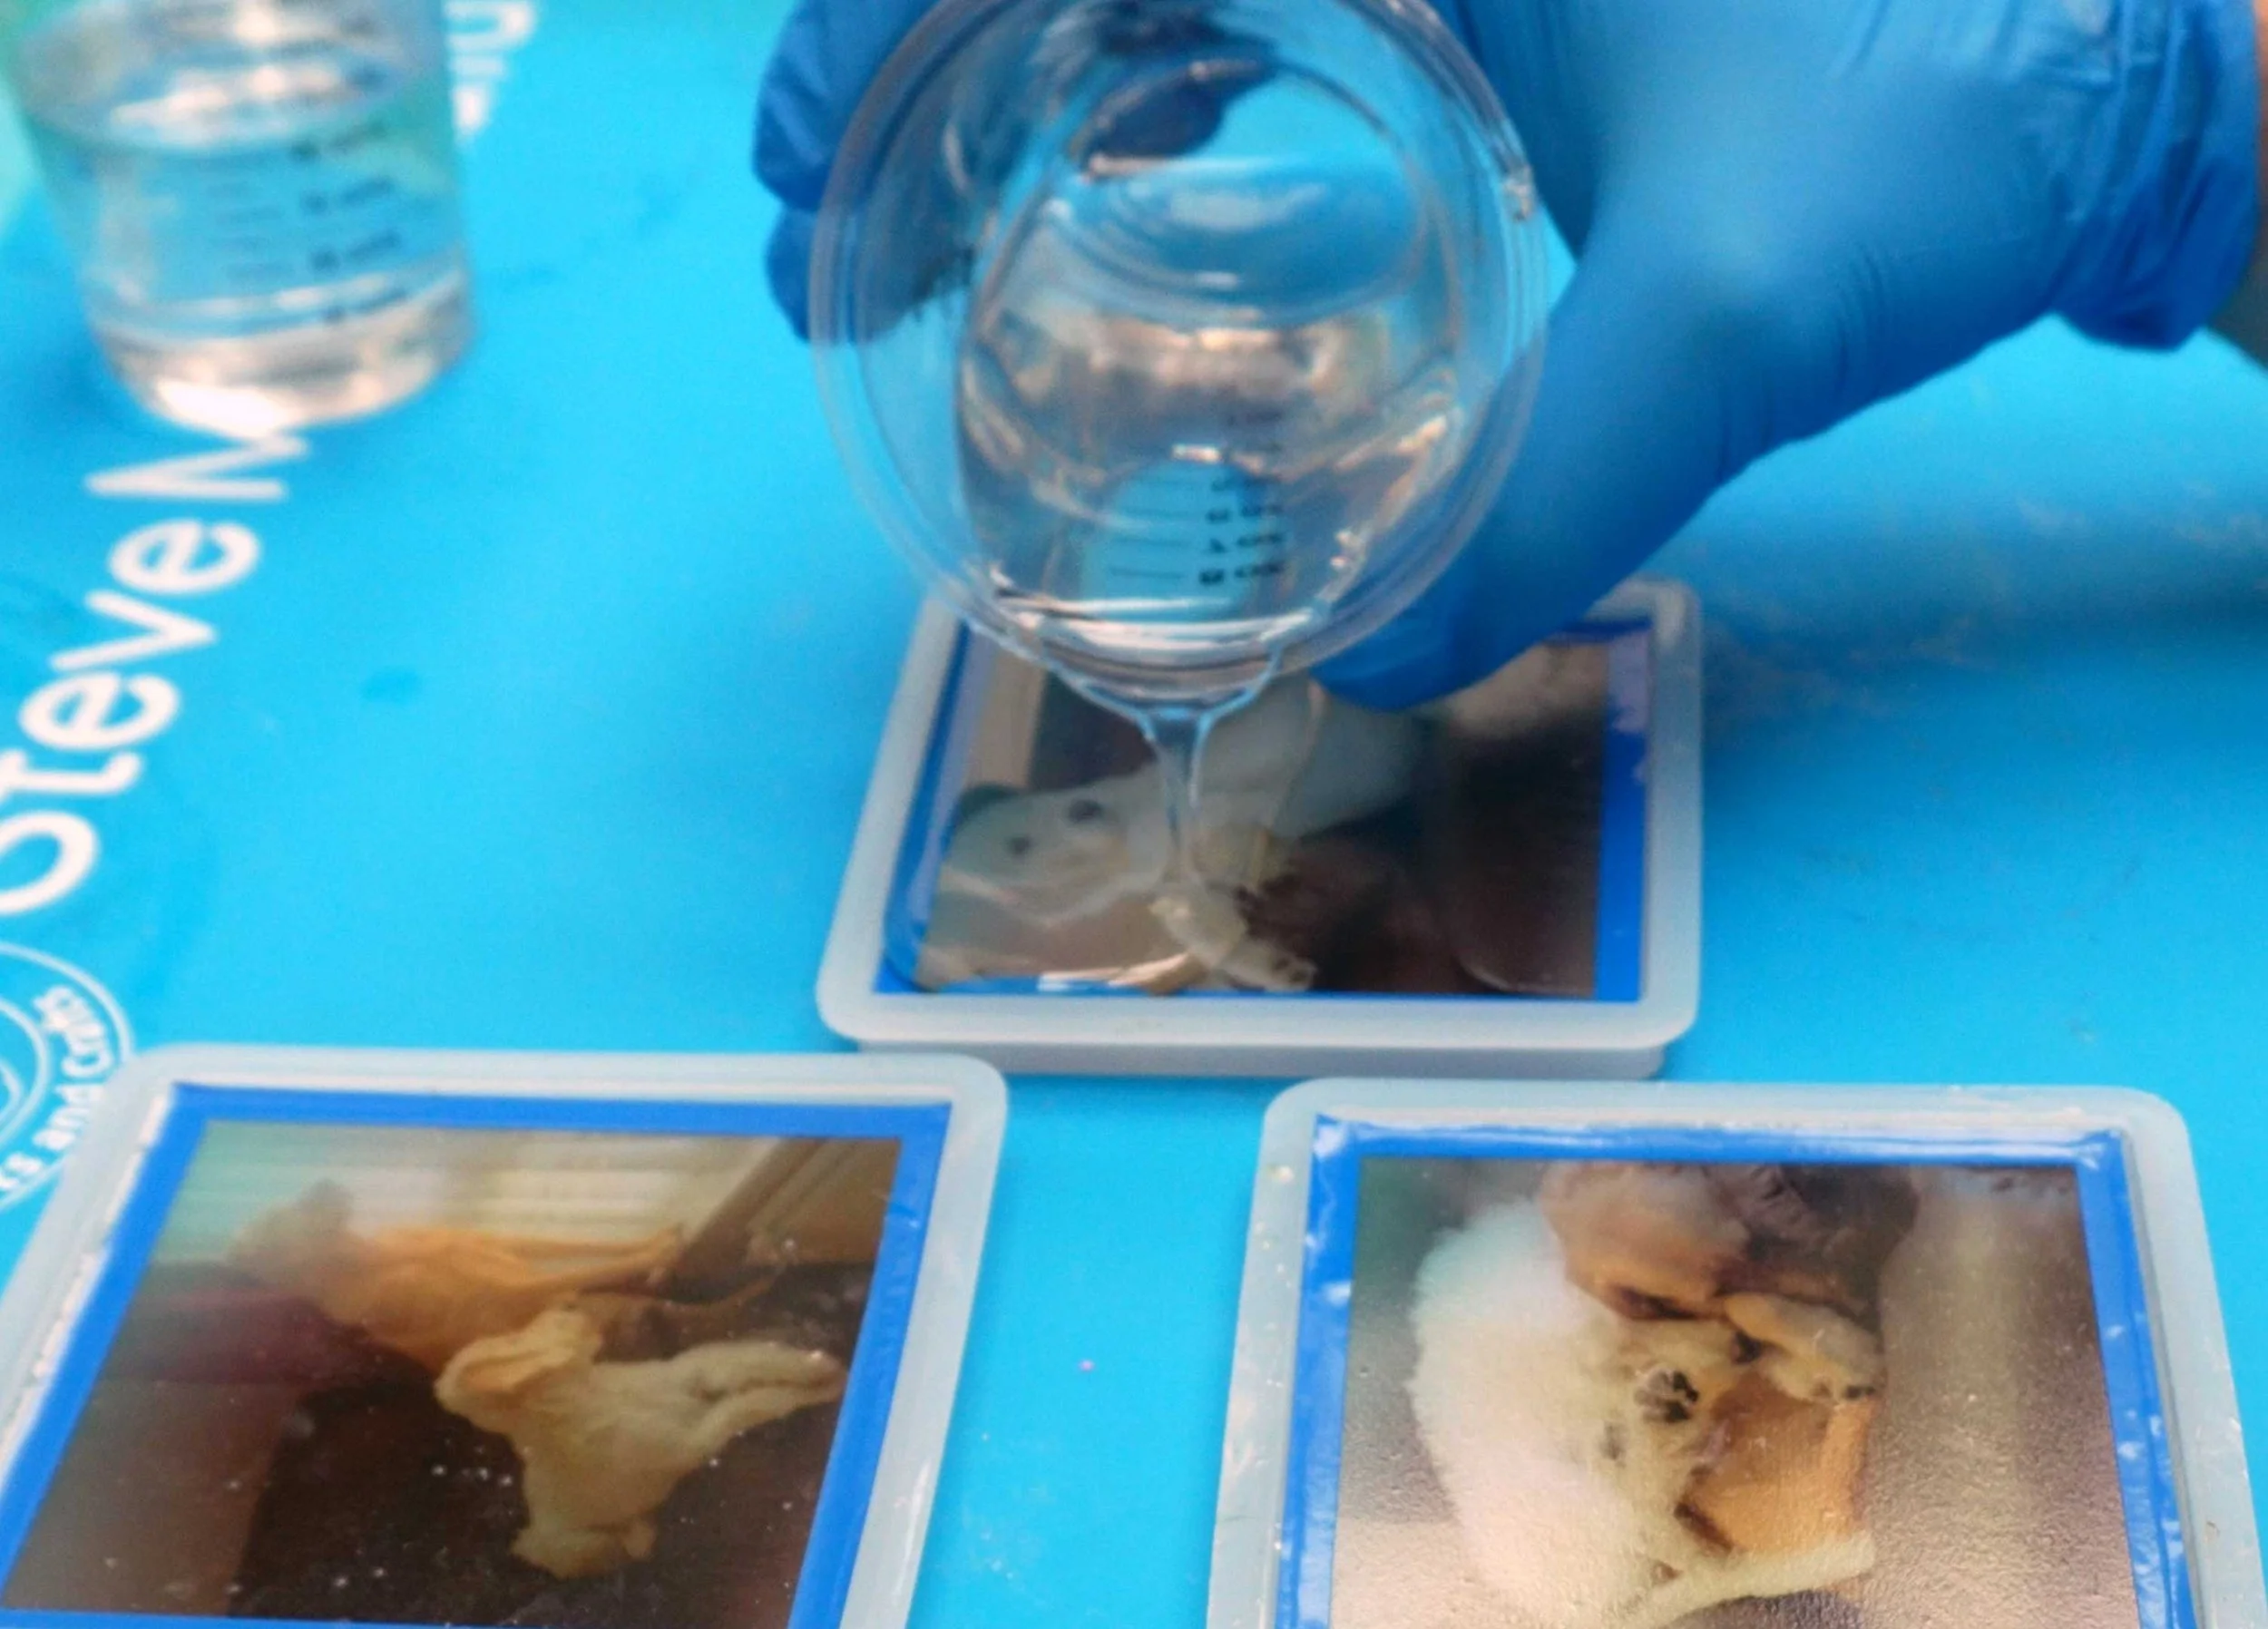
1. Prepare and Pour the Base Panels
Start by thoroughly cleaning your moulds with a baby wipe to remove any dust. Mix your resin and add white opaque pigment drop by drop. You want the resin to be "semi-opaque"—white enough to make the photo pop, but translucent enough for light to shine through later. Pour roughly 40ml into each of the five square moulds, leaving a small lip at the top. Use a long-neck lighter to pop any surface bubbles.
2. Prepare the Photo Decals
Print your chosen photos onto water slide decal paper. It is essential to seal these according to the manufacturer's instructions before use. Cut the images to fit your coasters (approximately 8.5cm x 8.5cm).
3. Apply the Water Slide Decals
Once the resin panels are fully cured, spray a little water onto the resin surface. Dip your decal in water until it begins to slide off the backing paper. Slide it onto the resin panel. The water allows you to reposition the image easily. Once in place, use a paper towel to gently press out any air bubbles or excess water. Let these dry completely, ideally overnight.
4. Add Decorative Frames (Optional)
If you wish to add a professional touch, you can cut vinyl frames using a craft cutting machine. Apply these over the dried decals to give each "photo" a finished look.
5. The Protective "Dome" Pour
To protect the decals and the vinyl, pour a thin layer of clear resin over each panel. Aim for a slight "dome" (overfilling just enough so the resin sits high but doesn't spill). This creates a smooth, rounded finish and prevents sharp edges. If you do have any overspill, you can grind it down with a sander or grinder once cured.
6. Assemble the Cube
Tape off the faces of your panels with protective tape to prevent glue marks. Use 5-minute epoxy to bond the edges of the five panels together into a cube shape (with the top panel being the fifth side). Ensure your photos are facing outwards!
7. Finishing Touches
To hide the seams where the panels meet, cut small lengths of wooden dowel. You can stain these with watered-down acrylic paint for a rustic look. Glue these dowels onto the corners using epoxy. This adds both strength and a beautiful aesthetic finish. Remove the protective tape and polish the resin with a soft cloth.
Tips
Avoid Full Opacity: When mixing your white resin, don't make it too thick. If it is too "solid" white, the light from the LED base won't be able to glow through the photos.
Bubble Control: Always use a long-neck lighter rather than a torch. A torch can be too hot and may accidentally bond the resin to your silicone moulds.
The "Water Trick": When applying decals, always mist the resin panel with water first. If you try to apply a decal to a dry surface, it will stick instantly and likely tear if you try to move it.
Check Orientation: Before the epoxy sets, double-check that all your photos are the right way up! It is a common mistake to glue a side panel upside down in the heat of the moment.
FAQs
Can I use any coaster mould for this?
Yes, as long as you have five moulds of the exact same size and shape (squares work best), you can create a cube.
Do I have to use a specific type of resin?
While the video uses a 4-hour demold resin for speed, any clear casting resin will work. Just ensure you follow the specific curing times for the brand you choose.
What if I don't have a vinyl cutter for the frames?
The frames are entirely optional! The project looks just as beautiful with the photos covering the full surface of the resin.
Will the light damage the resin over time?
Since you are using LED lights, which produce very little heat, there is no risk of melting or warping the resin cube.
Tools used
📌 As an Amazon Associate, I earn from qualifying purchases:
(USA) Here is my amazon store for the USA
(UK) Here is my Amazon Store for the UK
Individual links below for the items used in this video:
LINKS FOR USA ONLY
(USA) Resin: https://amzn.to/41hZYsB
(USA) Coaster Moulds: https://amzn.to/3Q2duhg
(USA) Lets Resin Chrome Powder: https://amzn.to/4d9GugR
(USA) Resin Pigments: https://amzn.to/4bOZrCX
(USA) Waterslide Paper: https://amzn.to/4uSEHmy
(USA) Cricut Machine: https://amzn.to/4lRAECW
(USA) Lets Resin Sander: https://amzn.to/47oGXrL
(USA) 5 Min epoxy: https://amzn.to/3Pvwc0N
(USA) Wooden Dowels: https://amzn.to/48eynft
(USA) Display Light: https://amzn.to/40ZXi2x
LINKS FOR UK ONLY
(UK) Resin: https://amzn.to/41B2Twg
(UK) Coaster Moulds: https://amzn.to/4s2ffZo
(UK) Lets Resin Chrome Powder: https://amzn.to/4bBJ7Xv
(UK) Resin Pigments: https://amzn.to/4bKPaI8
(UK) Waterslide Paper: https://amzn.to/40XBjJC
(UK) Cricut Machine: https://amzn.to/4lVhEDx
(UK) Lets Resin Sander: Back in Stock Soon
(UK) 5 Min epoxy: https://amzn.to/4ddGdtk
(UK) Wooden Dowels: https://amzn.to/4s4bORT
(UK) Display Light: https://amzn.to/47qdkq0