
The New Pearlescent UV Resin: Does It Deliver?
If you are a resin crafter, you know that finding the perfect shimmer can be a challenge. Often, we find ourselves mixing powders and pigments into clear resin, hoping to get the right consistency and sparkle. But what if the resin came pre-mixed with a beautiful pearlescent finish?
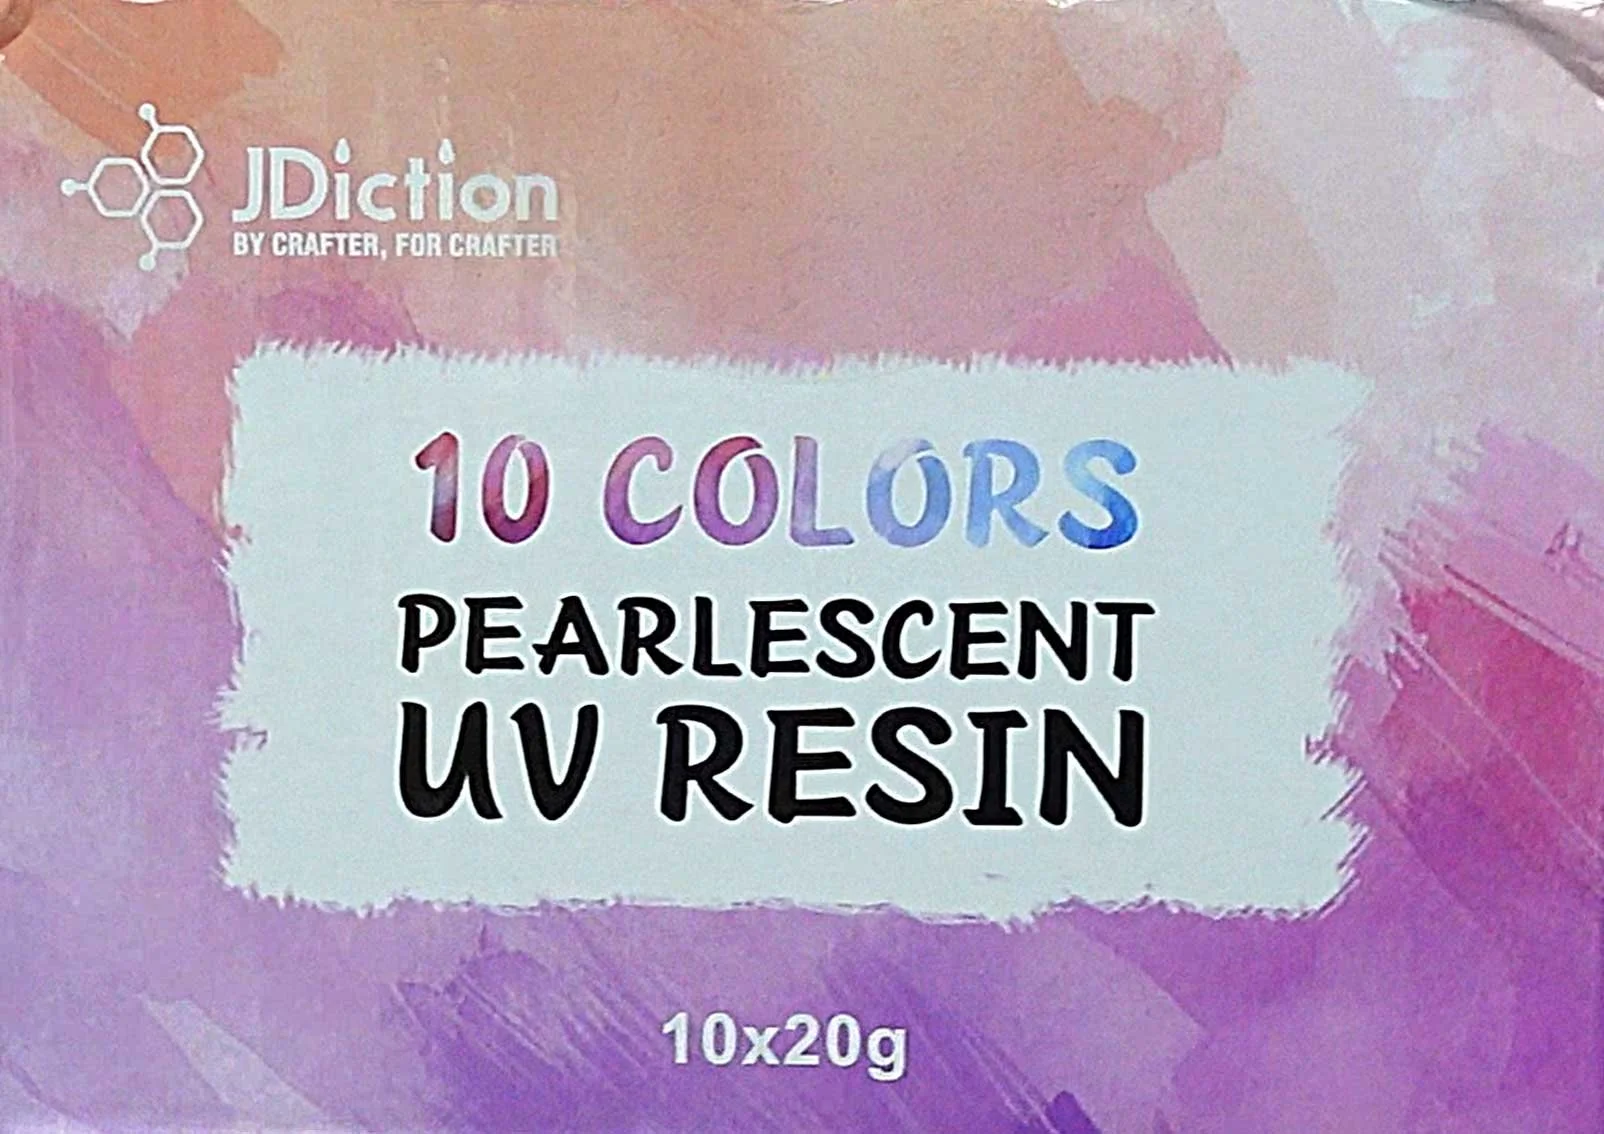
In this guide, we explore the new JDiction pearlescent UV resin range. You will learn about its thickness, how it handles in different types of moulds, and the best ways to ensure a perfect cure every time. Whether you are making delicate jewellery or detailed figurines, this could be the sparkle upgrade your craft room needs.
The primary advantage of this new resin is its consistency. It is notably thick, which is a significant benefit for crafters. A thicker resin stays exactly where you put it, making it ideal for creating outlines or keeping different colours separate without them merging into a messy blur.
Additionally, these resins are designed to be "bubble-free" straight out of the bottle. This saves you the time and effort usually spent with a heat tool or lighter trying to pop those pesky surface bubbles.
Using these resins is straightforward, but because they are pigmented, they require a slightly different approach than clear resin to ensure they cure through to the centre.
Steps
Prepare Your Workspace: Ensure your moulds are clean and free of dust. If you are using a new bottle, run a knife around the seal to open it cleanly.
Select Your Mould: Choose between shallow jewellery moulds for quick results or deeper moulds for more substantial pieces. Note that opaque (non-see-through) moulds can be used, but they may require extra curing time.
Apply the Resin: Squeeze the resin into your mould. Because of its thickness, you can guide it easily. For intricate details, use a micro brush to push the resin into corners or tidy up any overspill.
Layer and Swirl: You can add multiple colours side-by-side. If you want a "petri-dish" or marbled effect, use a toothpick or fine tool to gently swirl the colours together before curing.
The Curing Process: Place your piece under a high-quality UV light. For pigmented resins like these, a curing time of 5 minutes (300 seconds) is recommended to ensure the piece is solid and not sticky.
Final Cure for Opaque Moulds: If you used an opaque mould, de-mould the piece after the initial 5 minutes and then cure it for a further minute on the other side to ensure the back is fully set.
Tips
Store Upside Down: To keep the resin flowing and ready for use, store your bottles upside down. This prevents you from having to wait for the thick liquid to travel to the nozzle when you’re ready to craft.
Use a Powerful UV Light: While handheld torches are convenient, a powerful UV lamp with a timer is much more effective for pigmented resins. It provides a more consistent cure and reduces the risk of a "tacky" finish.
Magnification Effects: These pearlescent resins have a beautiful magnifying quality. When used in domed moulds, the shimmer appears deeper and more intense.
Domed Finish: For a professional look, you can "dome" your finished piece by adding a small amount of clear UV resin over the top after the pearlescent layer has cured.
FAQs
Can I use these resins in deep moulds?
Yes, but remember that the light has a harder time reaching the bottom of pigmented resins. It is best to cure for at least 5 minutes and, if the mould isn't clear, flip the piece over and cure the underside once it is out of the mould.
Will the colours bleed into each other?
The resin is quite thick, so the colours generally stay where you place them. This allows you to create distinct sections of colour. If you want them to blend, you will need to manually swirl them with a tool.
Why does my resin feel sticky after curing?
Stickiness is usually caused by an underpowered UV light or not curing for long enough. Because pearlescent pigments block some of the UV rays, they require a longer exposure time (around 5 minutes) compared to clear resin.
Tools and Materials
📌 As an Amazon Associate, I earn from qualifying purchases:
(USA) Here is my amazon store for the USA
(UK) Here is my Amazon Store for the UK
Individual links below for the items used in this video:
LINKS FOR USA ONLY
(USA) Pearlescent UV Resin: https://amzn.to/41guxP0 Discount code 10% off: STEVEUV10
(USA) Dragon Mold: https://amzn.to/4bgZmJo
(USA) Earring Jewellery Mold: https://amzn.to/4uAE0yb
(USA) Earring Jewellery Mold: https://amzn.to/4bsnwiR
(USA) Earring backs: https://amzn.to/4rET1fM
(USA) UV Resin Trio Bundle: https://amzn.to/4sYup2N
(USA) Micro Brushes: https://amzn.to/4sT5n51
LINKS FOR UK ONLY
(UK) Pearlescent UV Resin: https://amzn.to/3NNzSdD Discount code 10% off: STEVEUV10
(UK) Dragon Mold: https://amzn.to/4sSC2aQ
(UK) Earring Jewellery Mold: https://amzn.to/3NwMJRp
(UK) Earring Jewellery Mold: https://amzn.to/3NdStiW
(UK) Earring backs: https://amzn.to/4bmRDIo
(UK) UV Resin Trio Bundle: https://amzn.to/4cUWXp8
(UK) Micro Brushes: https://amzn.to/4smkjJ5